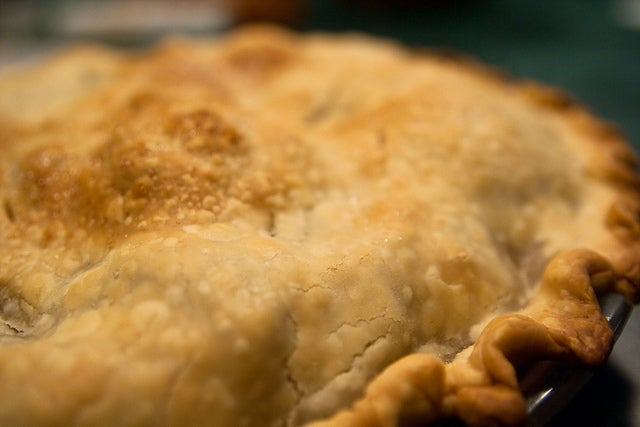
In pursuit of “perfect” piecrust, some recipes advocate for this secret ingredient or that. Vinegar, maybe (which slows down gluten formation), an egg (which adds protein to the dough, binding it together and making it easier to roll), or even vodka (which evaporates during baking without having developed wheat flour’s gluten). These additives are especially useful when you’re making piecrust in a food processor, which can work the hell out of the crust with one pulse too many.
But they aren’t necessary. Not when you’re making dough by hand. With my method, this all-butter crust recipe creates a dough that’s as tender as it is flaky, which means it’s not going to explode into shards like a puff pastry when you take a bite. Rather, it will frame the filling in rich, light pastry layers that are strong enough for you to pick up a slice and eat it by hand.
This crust is so easy to work with, its ingredients so easy to find and store, I use it in all my pie classes. When making pie for myself, it’s the recipe I lean on like an old friend.
News with a little more humanity
WPR’s “Wisconsin Today” newsletter keeps you connected to the state you love without feeling overwhelmed. No paywall. No agenda. No corporate filter.
Makes 1 double crust
2½ cups flour
1 tablespoon sugar
1 teaspoon salt
1 cup (2 sticks) well-chilled unsalted butter
- Fill a spouted liquid measuring cup with about 1½ cups of water, plop in some ice cubes, and place it in the freezer while you prepare the next steps of the recipe. The idea is to have more water than you need for the recipe (which will probably use ½ cup or less) at a very cold temperature, not to actually freeze the water or use all 1½ cups in the dough.
- In a large bowl, mix the flour, sugar, and salt. Cut ½- to 1-tablespoon pieces of butter and drop them into the flour. Toss the fat with the flour to evenly distribute it.
- Position your hands palms up, fingers loosely curled. Scoop up flour and fat and rub it between your thumb and fingers, letting it fall back into the bowl after rubbing. Do this, reaching into the bottom and around the sides to incorporate all the flour into the fat, until the mixture is slightly yellow, slightly damp. It should be chunky—mostly pea-size with some almond- and cherry-size pieces. The smaller bits should resemble coarse cornmeal.
- Take the water out of the freezer. Pour it in a steady thin stream around the bowl for about 5 seconds. Toss to distribute the moisture. You’ll probably need to pour a little more water on and toss again. As you toss and the dough gets close to perfection, it will become a bit shaggy and slightly tacky to the touch. Press a small bit of the mixture together and toss it gently in the air. If it breaks apart when you catch it, add more water, toss to distribute the moisture, and test again. If the dough ball keeps its shape, it’s done. (When all is said and done, you’ll have added about ⅓ to ½ cup water.)
- With firm, brief pressure, gather the dough in 2 roughly equal balls (if one is larger, use that for the bottom crust). Quickly form the dough into thick disks using your palms and thumbs. Wrap the disks individually in plastic wrap. Refrigerate for an hour to 3 days before rolling.
*(c)2014 By Kate Lebo. All rights reserved. Excerpted from Pie School: Lessons in Fruit, Flour, and Butter by permission of Sasquatch Books.
Wisconsin Public Radio, © Copyright 2026, Board of Regents of the University of Wisconsin System and Wisconsin Educational Communications Board.


