What do sauerkraut, miso and yogurt all have in common? The answer: all are foods created through the process of fermentation, which has been used throughout human history to preserve food.
In an effort to educate the public about fermentation and sustainable food, artist and educator Tara Whitsitt founded Fermentation on Wheels more than four years ago and has traveled more than 24,000 miles holding workshops and culture exchanges. Join us as we talk tp Whitsitt, author of “Fermentation on Wheels: Road Stories, Food Ramblings, and 50 Do-It-Yourself Recipes,” to learn about her experiences. We also find out how to start the fermentation process and learn how to make foods including kimchi, sourdough bread and even fermented burdock root.
Foodies, we want to hear from you! What do you ferment? What do you want to ferment in the future? Or are you new to fermentation? What questions do you have? Join us by emailing ideas@wpr.org, posting on The Ideas Network Facebook page and mentioning @wprmornings on Twitter.
Featured in this Show
-
Author Dishes On The Magic Of Fermentation
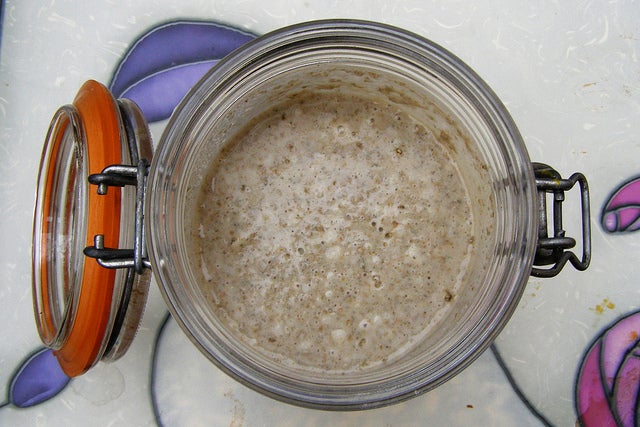
Five years ago on a kitchen shelf in Brooklyn, a jar of cabbage slowly turned to sauerkraut; and as Tara Whitsitt watched it over the weeks, she was amazed.
“It was revelatory to me. I watched it transform, and it was just such a testament to the life of food. After realizing that I was growing an ecosystem in a jar in my very own kitchen, it led me on this journey,” Whitsitt told WPR’s “The Morning Show.”
Whitsitt is the author of “Fermentation on Wheels: Road Stories, Food Ramblings, and 50 Do-It-Yourself Recipes from Sauerkraut, Kombucha, and Yogurt to Miso, Tempeh, and Mead.” The book chronicles Whitsitt’s journeys across the United States in her school bus-turned-fermentation lab and features recipes for all kinds of fermented delicacies.

Fermentation is a chemical process by which foods, liquids and other substances are broken down by yeast and/or other microorganisms. It’s believed the growth of certain bacteria during the process has health benefits. Fermented foods often have a tangy or sour flavor, and some of them are effervescent.
While Whitsitt revels in enjoying fermented foods, her bus is really an educational project.
It has books on fermentation for visitors to peruse, gallons and gallons of fermented vegetables, legumes and grains, and cultures of yeast and bacteria to inoculate foods. She hopes to show visitors that fermenting your own food is easy and fun.
Her road trip began in Eugene, Oregon in Oct. 2013, and she’s traveled more than 24,000 miles from one side of the U.S. to the other, according to her website.
For Whitsitt, fermentation is about the delicious, unique flavors, and about getting in touch with nature, because when you ferment a food, you’re growing life by cultivating a microbiome.
In the introduction to her book, Whitsitt writes, “Working directly with fermentation has taught me to appreciate the grandeur of the natural world at a more intimate scale — fermenting in your own kitchen is one of the easiest, most delicious, and fascinating ways to experience an ecosystem firsthand.”
Despite her passion, Whitsitt cautions against eating large amounts of fermented foods at once —especially if you’re not used to them — as it can irritate the stomach.
“Eat smaller quantities, and as your body gets used to it, you can scale up. Try to stay away from being excessive,” she said.
Below are some of Whitsitt’s recipes to try at home:
- Fermented Burdock Root: Whitsitt recommends slicing this root very thin and adding it to salads or sauerkraut.
- Traditional Kimchi: There are many different ways to make kimchi, and this is Whitsitt’s take on it.
- Daily Kefir: Kefir is a fermented milk beverage similar to a yogurt drink with a tart flavor.
- Hawthorn Kefir Ice Cream: Fermenting isn’t just about healthy main dishes. Indulge in this dessert.
-
RECIPE: Fermented Burdock Root
YIELDS 1/2 GALLON, 1-6 MONTHS
INGREDIENTS
- 4 lbs. burdock root
- 2 1/4 tbsp. salt (3.5 percent salinity)
- 1 qt. water
MATERIALS
- 1/2-gallon Ball jar with lid
PROCESS
- Rinse the burdock roots and pack them into a half-gallon jar.
- Dissolve salt in water and pour brine over the burdock roots. Top off the jar with water and seal it with plastic Ball-jar lid.
- ferment for 1 to 6 months at room temperature. Burdock will keep well out of the fridge, too.
- Take roots out of the jar and thinly slice to add to salads, or even other vegetable ferments to jump-start fermentation. I love adding a few thinly sliced roots when making sauerkraut.
SOURCE: © Tara Whitsitt, 2017, from Fermentation on Wheels, published by Bloomsbury
-
RECIPE: Traditional Kimchi
YIELDS 1 GALLON, 3-6 WEEKS
FROM THE AUTHOR:
” … Kimchi has hundreds of varieties.You can follow this recipe in a strict sense, but don’t be discouraged if you can’t locate some of the vegetables here.You’ll want roughly seven pounds of veggies to make one gallon.This recipe calls for an overnight soak in brine, which is the traditional Korean technique—it lifts bitter elements in the vegetables.”
INGREDIENTS
- 3 medium napa cabbage (4 lbs.)
- 1 bunch carrots (1 lb.)
- 2 bunches radishes (1 lb.)
- 2 bunches turnips (1 lb.)
- 1 leek
- 1/4 cup salt (3 percent salinity)
INGREDIENTS FOR PASTE
- 6 cloves garlic
- 2 inches ginger
- 1 medium shallot
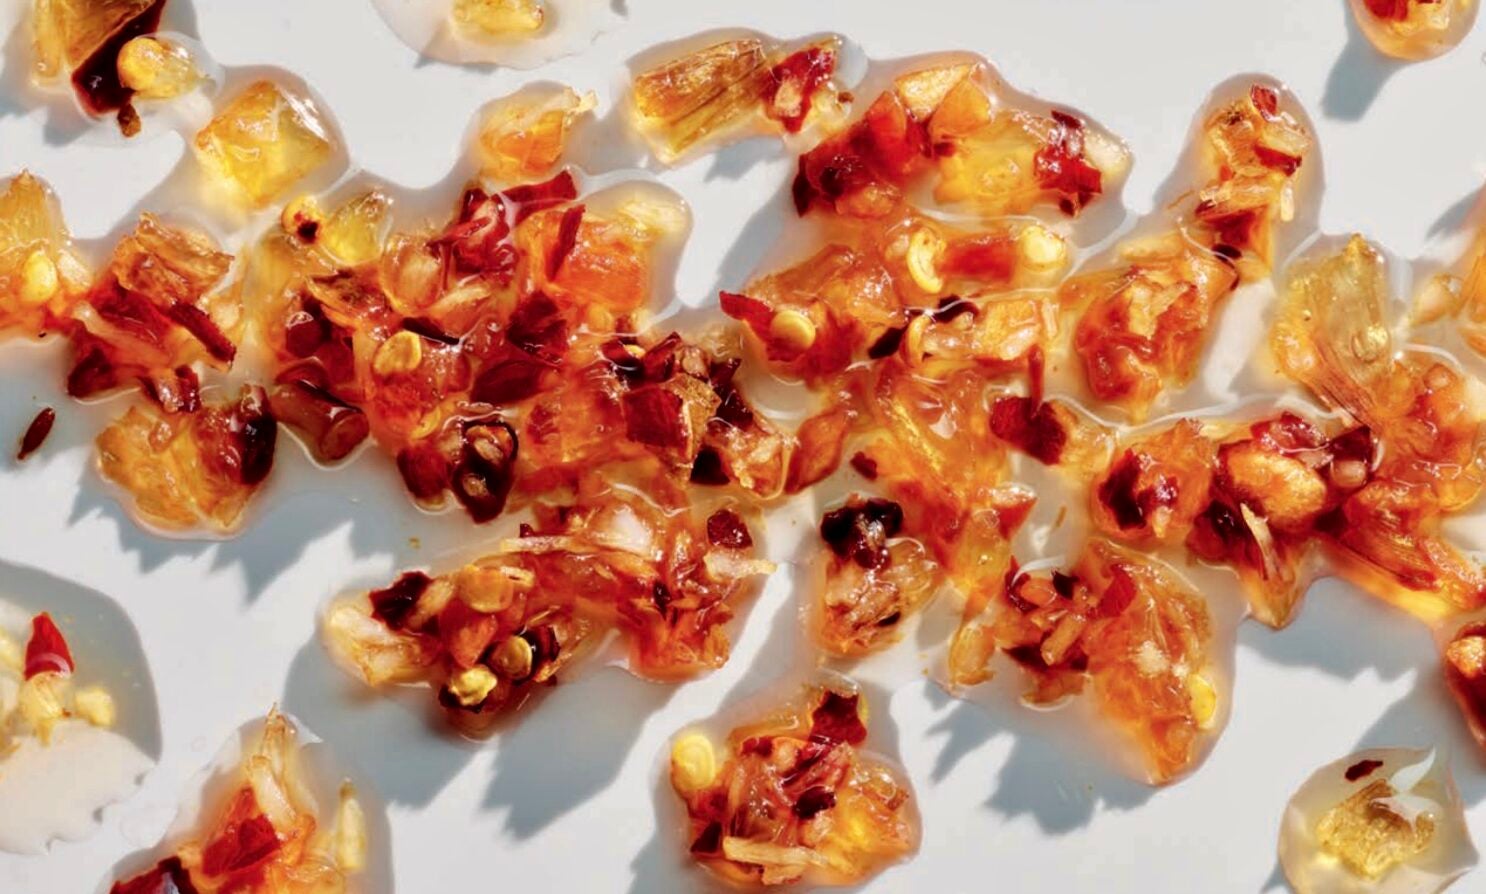
- 2 tbsp chili powder or fresh chili peppers
- 2 tbsp fish sauce or tamari
MATERIALS
- Gallon jar
- Blender
- Weight and cover
PROCESS
- Chop napa cabbage, carrots, radishes, turnips, and leek and place into a large bowl.
- Combine the salt and water in a half-gallon container to make brine (3 percent salinity), then pour the brine over the vegetables in a large bowl. Submerge the vegetables in brine using a large plate with something heavy on top.
- Allow the vegetables to soak for 6 hours or overnight. In the meantime, make the paste for your kimchi.
- Peel garlic, ginger, and shallot and roughly chop into smaller pieces. toss them into your blender bowl. Add chili powder or fresh peppers and fish sauce or tamari. Blend the ingredients and put aside until your vegetables are one soaking.
- After the soak is done, strain brie from vegetables. Add the paste to your veggies in the large bowl, thoroughly covering them with the spicy goodness. You can use your hands, but you may want to use a large utensil to protect them from the hot peppers.
- Pack the spicy vegetables into a glass gallon jar or ceramic crock until brine comes forth and the vegetables are completely submerged. Use a weight to keep vegetables under the brine, cover with a cloth and store at room temperature.
- Wait a week and taste the kimchi – it should be mildly tangy. Let it ferment for up to 6 weeks for maximum tanginess. Taste throughout the duration of fermentation and keep at room temperature until it reaches desired flavor. I recommend fermenting it for at least 3 weeks.
- Keep in cold storage when it’s reached desired flavor and enjoy for 6 months, 12 months, or even a few years. Let your senses serve as your guide.
SOURCE: © Tara Whitsitt, 2017, from Fermentation on Wheels, published by Bloomsbury
-
RECIPE: Dairy Kefir
YIELDS 1 QUART, 24-48 HOURS
FROM THE AUTHOR:
” … Dairy kefir is supersimple, arguably the simplest of dairy fermentations. Raw goat milk fed my starter culture for years, but pasteurized milk works fine.”
INGREDIENTS
- 1 qt. milk
- 1 tbsp. dairy kefir grains
MATERIALS
- Quart jar
- Stainer
PROCESS
- Add ingredients into quart jar. Let sit for 23 to 48 hours and agitate the jar occasionally to discourage curds and whey from separating. The cooler the temperature, the longer fermentation will take, while the warmer it is, the speedier.
- Once the milk kefir smells and tastes pleasant to you, pour it through a mesh strainer over a quart jar. It may take a bit of effort to push the kefir through, so use a spoon. Your dairy kefir grains, the starter culture, will remain. healthy grains will double each time you ferment. Keep some and pass the excess grains on to a friend.
SOURCE: © Tara Whitsitt, 2017, from Fermentation on Wheels, published by Bloomsbury
-
RECIPE: Hawthorn Kefir Ice Cream
YIELDS 1 QUART, 12 HOURS
INGREDIENTS
- 1/2 cup hawthorn berries (deseeded) or 4 tbsp. hawthorne-berry syrup
- 1 cup whole milk
- 1/2 cup honey
- 2 cups kefir
MATERIALS
- Blender
- Ice cream maker
PROCESS
- If using fresh hawthorn berries, rinse them well, then with a knife cut the berries in half, cutting against the seed. Pull the berry apart from either side and use a knife to pry out the seed.
- Combine hawthorn berries (or syrup), whole milk, and honey. If using fresh berries blend the ingredients together. If using syrup, gently heat on the stovetop to liquefy the honey.
- Add kefir to the ingredients, stir together, and chill in the fridge for an hour.
- Transfer the ingredients into an ice cream maker, and follow your ice cream maker’s instructions. Transfer to a quart container and keep in the freezer.
SOURCE: © Tara Whitsitt, 2017, from Fermentation on Wheels, published by Bloomsbury
Episode Credits
- Kate Archer Kent Host
- Breann Schossow Producer
- Kealey Bultena Producer
- Michelle Johnson Technical Director
- Tara Whitsitt Guest
Wisconsin Public Radio, © Copyright 2025, Board of Regents of the University of Wisconsin System and Wisconsin Educational Communications Board.